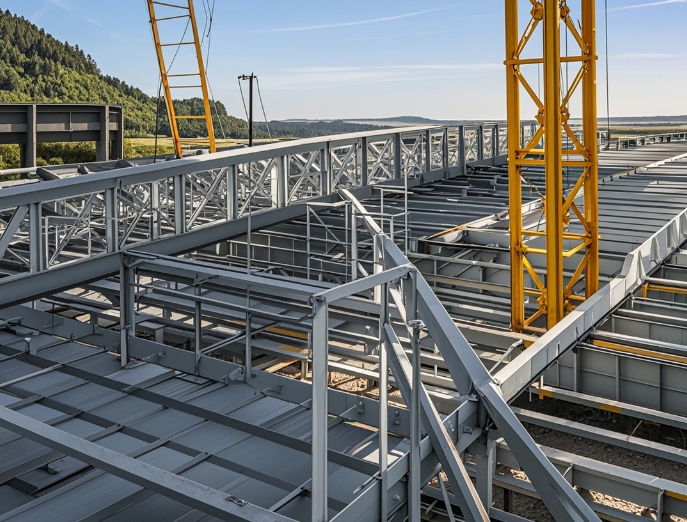
Program analysis for testing structural grid support!
更新时间:2025-02-24 10:21:40•点击:276475 • Entreprise's news
Summary of the program for inspecting structural grid supports
In modern building structural systems, the structural grid support serves as a key hub connecting the grid structure and foundation, bearing the responsibility of transmitting various loads and maintaining the overall stability of the structure. The quality directly determines the safety and reliability of the entire grid structure, which is related to the normal use of the building throughout its entire life cycle. Therefore, strictly following a scientific, rigorous, and standardized inspection procedure is the core of ensuring the quality of structural truss supports. The following is a comprehensive and in-depth summary of this inspection procedure.
Thoroughly prepare and solidify the foundation of inspection
The primary task before commencing the inspection work is to comprehensively collect and organize relevant information. These materials include blueprints for grid structure design, special design documents for supports, and detailed material quality certification documents. By thoroughly studying these materials, inspectors can accurately grasp the design intent, technical parameters, and various inspection standards, providing clear direction guidance for subsequent inspection work. At the same time, prepare various professional inspection tools such as total stations, level gauges, high-precision calipers, and pressure testing machines. The accuracy of these tools must meet the strict requirements of inspection work, and they must undergo authoritative calibration before use to ensure that they are within their validity period, laying a solid foundation for obtaining accurate and reliable inspection data.
Be meticulous and conduct a visual inspection
Visual inspection is the most direct and preliminary step in the inspection process. Inspectors need to carefully inspect the surface condition of the support to ensure that it is smooth and flat, without any obvious casting defects such as sand holes, pores, slag inclusions, etc. These seemingly minor flaws may actually become potential hazards that weaken the strength of the support under long-term loading. At the same time, strict control should be exercised over the quality of welds, observing whether the welds are uniform and continuous, and eliminating welding defects such as cracks, incomplete penetration, and undercutting. As a key part connecting various components of the support, the weld seam will seriously affect the connection strength and overall mechanical performance of the support once there is a quality problem. In addition, special attention should be paid to checking the anti-corrosion coating of the support to ensure that the coating is complete and free of peeling, and the coating thickness must strictly meet the design requirements. A good anti-corrosion coating is an important guarantee for extending the service life of bearings, which can effectively resist external environmental erosion and maintain the structural performance of bearings.
Accurate measurement, strict adherence to size standards
Accurate dimensional measurement is a key step in ensuring that the support is highly compatible with the design requirements. According to the detailed dimension annotations in the design drawings, inspectors use professional measuring tools such as calipers and steel rulers to accurately measure the various external dimensions of the support, including key dimensions such as length, width, height, and aperture. All measurement results must be strictly controlled within the allowable deviation range of the design. Special attention should be paid to the measurement of dimensions at the connection points with the grid, such as the spacing between bolt holes and the thickness of the connecting plate. The accuracy of these dimensions directly affects the quality of the connection between the grid and the support. Any slight dimensional deviation may cause difficulties during installation, and even affect the stress state of the structure during use, thereby endangering the safety of the entire structure.
Scientific testing to evaluate mechanical properties
Mechanical performance testing is the core part of the inspection work, aimed at comprehensively evaluating the bearing capacity and deformation performance of the support. By using a professional pressure testing machine, the bearing is subjected to compressive, tensile, and shear tests, simulating various complex stress states that it may withstand in practical engineering. During the experiment, accurately record the deformation data of the support under different load levels until the design load is reached or a failure load occurs, in order to determine whether the support meets the design requirements for bearing capacity and deformation indicators. For bearings that require rotation or sliding functions, rotation and sliding performance tests are also required to verify their flexibility in rotation and smoothness in sliding, ensuring that the bearings can function properly when the structure undergoes displacement, and guaranteeing the safety and stability of the structure.
Reasonable sampling and rigorous completion of acceptance
Based on relevant standards and specifications, as well as the actual scale of the project, scientifically and reasonably determine the sampling quantity, and conduct comprehensive and detailed inspections on the selected samples. If any of the indicators are found to be unqualified during the initial inspection, double sampling should be conducted for re inspection according to regulations. If the re inspection result still does not meet the requirements, the batch of bearings will be judged as unqualified products. Only when all inspection items strictly comply with the design requirements and relevant specifications and standards, can the batch of bearings be accepted and allowed to be put into use in the project.
The process of inspecting the structural grid support is a rigorous, systematic, and interrelated process. From careful preparation in the early stage, to appearance inspection, dimensional measurement, mechanical performance testing, and finally sampling acceptance, each link is closely related and indispensable. Only by strictly following these procedures and carrying out inspection work meticulously can we ensure the reliable quality of the grid support and lay a solid foundation for the safe and stable operation of the grid structure.
Recommended Reading
-
Full analysis of seismic design and maintenance of grid structure
2025-02-27 16:16:52•698787 次
-
What are the key process points to follow in order to ensure the quality of grid processing?
2025-02-27 11:21:00•108189 次
-
What type of construction is the grid mainly suitable for?
2025-02-25 16:42:00•104691 次
-
Quality control requirements of grid manufacturers!
2025-02-25 16:02:44•200709 次


